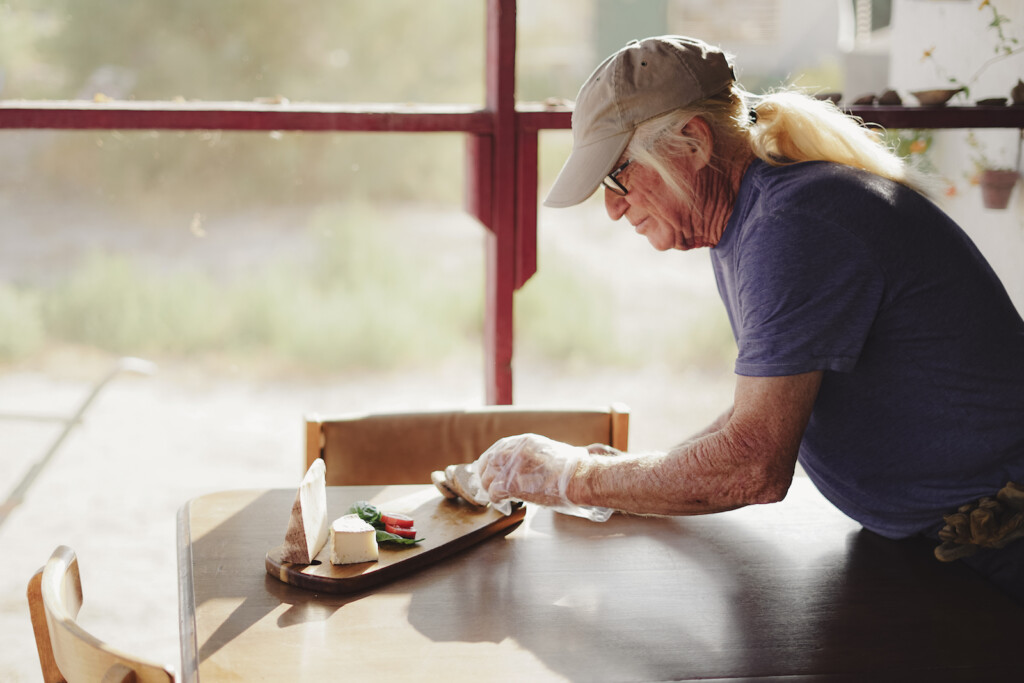
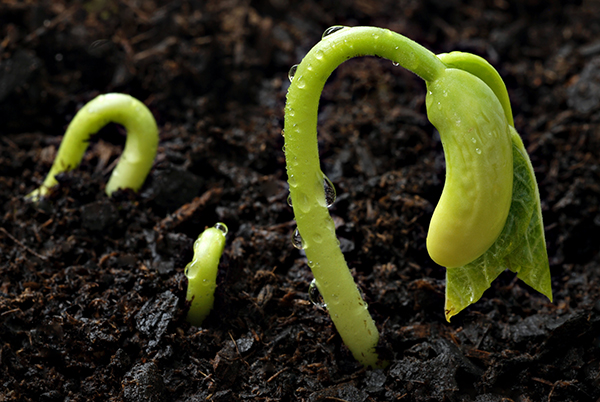
 As winter inversions set in, one of the best ways to combat poor air quality and possible seasonal depression is growing flower and vegetable starts indoors. Watching little green shoots emerge out of rich dark soil under warm fluorescent lights is about as good as sunbathing in warm summer heat under a Caribbean sky… well, maybe I’m exaggerating a little. Still, it’s well worth the time and effort.
Starting your own vegetable and flower seeds at home is fun and pretty easy if you have the right equipment and materials, and you will usually end up with some extra plants for friends and family.
Seeds – Many seed varieties can be purchased at your local nursery or stores like Mountain Valley Seeds and Millcreek Gardens.
Some new, improved varieties and other older heirloom seeds can only be found online or out of mail order catalogs like Burpee and Johnny’s. Be sure to follow the planting instructions on the package.
Materials – I start my plants in widely available 3½ inch plastic pots that fit conveniently into a standard plastic tray that can be purchased together.
Unless I am growing a lot of something, I only plant one variety per pot. I put a layer of perlite in the bottom of each for drainage. I fill the rest with a sterile commercial potting mix containing both slow release fertilizer and polyacrylamide to absorb and release water.
You can make your own potting soil by mixing a bunch of ingredients, but it is easier to just look for one as described. Never use unsterilized garden soil due to the potential for disease.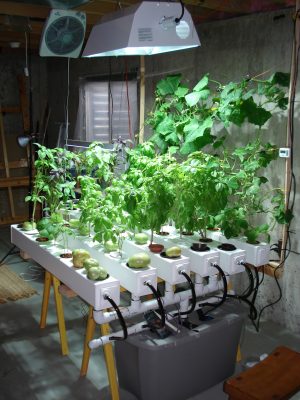
Light – Most people do not have adequate light inside their homes to start plants (even in sunlit windows), so I recommend using fluorescent lights.
I use four-foot lights, as the shorter ones do not produce enough light, and eight-footers are just too cumbersome.
Although you could buy more expensive “grow lights,” I find it is cheaper and works better to simply buy one “pink” and one “blue” faze light that can be mounted next to each other in a standard shop light fixture.
By mounting hooks on this fixture, it can be hung on chains over planting trays anywhere in your house. This allows it to be raised or lowered as your plants grow.
By arranging your trays in line with the lights, individual pots can be rearranged as they grow, with the taller plants on one end so that lights always remain about two inches above the plants for the entire time in the house.
It is critical to put your lights on an inexpensive timer so that they turn on and off automatically.
My lights are on for 19 hours a day.
Watering – I water them only when they start to droop. Don’t over water, as it may encourage fungus problems.
Hardening – When the weather is nice, start putting the plants outside in the wind and sun to toughen them up before actually transplanting them out into the harshness of the world.
Nurturing plants is almost like having pets in the house. You can even talk to them!