This past summer, my husband and I planted hops for the first time in a sunny corner of our yard in Sugarhouse. After years of buying shrink-wrapped packages of the papery cones for his homebrews, we decided it was time to give it a try ourselves.
After some initial research on Google, we found that Cascade hops tend to grow well in Utah’s climate and are a prominent aromatic in some of our favorite beers, including Sierra Nevada Pale Ale.
We picked up three hop rhizomes—small roots cut from a mature female hop plant—at The Beer Nut in SLC, planted them in our newly built raised bed, and used twine and nails to construct a trellis up the fence.
Over the course of the summer, the hop bines (hops vines are called bines) rapidly grew up our trellis and jumped to the wire supports for the nearby telephone pole. Perhaps it was nutrient-rich soil, ample sunlight or just plain good luck, but we harvested nearly a pound of Cascade hops that summer and expect an even bigger haul with each coming year.
Thinking about giving hops a go yourself? Rather than rely on chance, take some tips from Dan Drost, professor and vegetable specialist at the University of Utah, to find out how to have a successful hop harvests for years to come.
WHAT AND WHERE TO GROW
Hops are a perennial plant that will come back stronger each year and continue to bear fruit for upwards of 25 years.
Not all hop varieties will prosper in Utah, however, especially the European varieties, so choose wisely. Bittering hops like Galena and Nugget and aromatic hops such as Mt. Hood, Tettnanger and Cascade—all American hops—tend to grow best in Utah, according to Drost.
“The second most important thing is finding a good place to plant them,” says Drost. “They need full sunlight, 12 hours, and something to support them, whether that’s a trellis, pergola over a patio, or up a chimney.”
Hop bines can grow 20-30 feet a season, so make sure you have space before planting them. Between mid-April to mid-May (the later the better for cooler parts of Utah), fertilize your soil and plant the rhizomes 3-4 feet apart in a trench roughly 12-inches deep and a little wider than the rhizome. For weed control and moisture conservation, add mulch on top.
PLANT MAINTENANCE
As shoots emerge from the rhizome, train them in a clockwise direction up your trellis or supporting structure.
Drost suggests planting your hops in a spot that does not get the same irrigation as your lawn since the water schedule for grass is not ideal for hops.
“Hops are prone to some root diseases. If you over-water you can encourage those diseases to get a foothold on, and that affects the longevity of the plant,” explains Drost.
Instead, do periodic deep irrigations of the hops to encourage root growth. Aphids, cutworks, spider mites and mildew are other issues to keep an eye out for.
HOP HARVEST
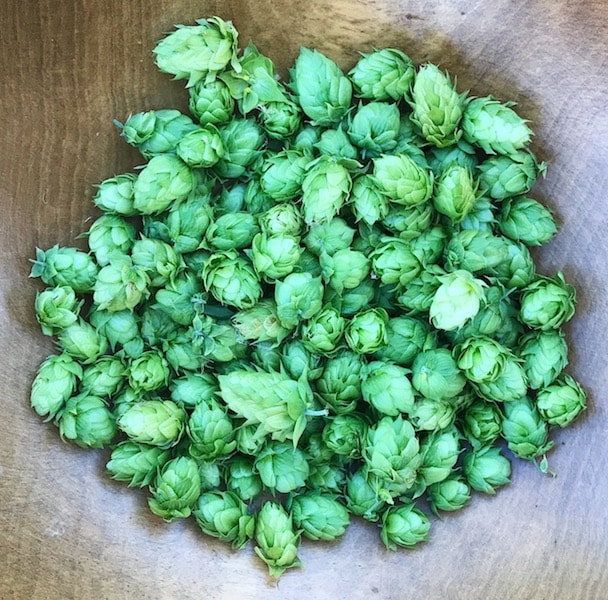
Harvest time can vary from season to season, but generally, in Utah, it falls between late August and September. The cones are ripe when they are dry, papery and aromatic.
“It’s just something that you kind of have to learn over time,” notes Drost. “You have to get out and learn for yourself what this cone feels like as it’s getting close to maturity. What kind of scent do I get from it?” Your hop harvest may take place over several sessions as the cones come to maturity at different rates.
Next, it’s time to dry your hops. Hops dry best if they are laid out in a single layer on a window screen in a warm, dry area so they are exposed on all sides. Depending on conditions, it can take about a week. When the hops become brittle, store in an air-tight container in the freezer until it’s time to use.
Like all perennials, it can take a year or more for the hops to really establish themselves, but with each passing year, the harvest will yield more and more cones.
“Most of the beer guys here in the valley say once the crop is in its fourth or fifth season, it produces way more cones than they can ever use in their homebrewing,” says Drost. “Often, people grow one type of hop and then connect with other hop growers that grow different types and swap.”
PREPARING FOR THE NEXT SEASON
After you’ve harvested all of your hops, cut the bine off the support system and trim the plant down to 12-18 inches. Drost recommends burying this a few inches in dirt to protect it over the winter months.
The root system will grow every year, and pruning and additional fertilization each spring will be necessary, but the end result is a robust plant you can look forward to returning every season!